
Okay, so you've found a great pattern and you want the garment pictured. So you go to the store and buy the yardage it says you need on the back of the pattern envelope. The first thing you should know is to always round up to the nearest yard... just in case. In the case of my latest project, I needed around a yard and a half extra because of the changes I made to construction.
And here's the pattern. So now that we have the pattern, we need the rest of our tools.
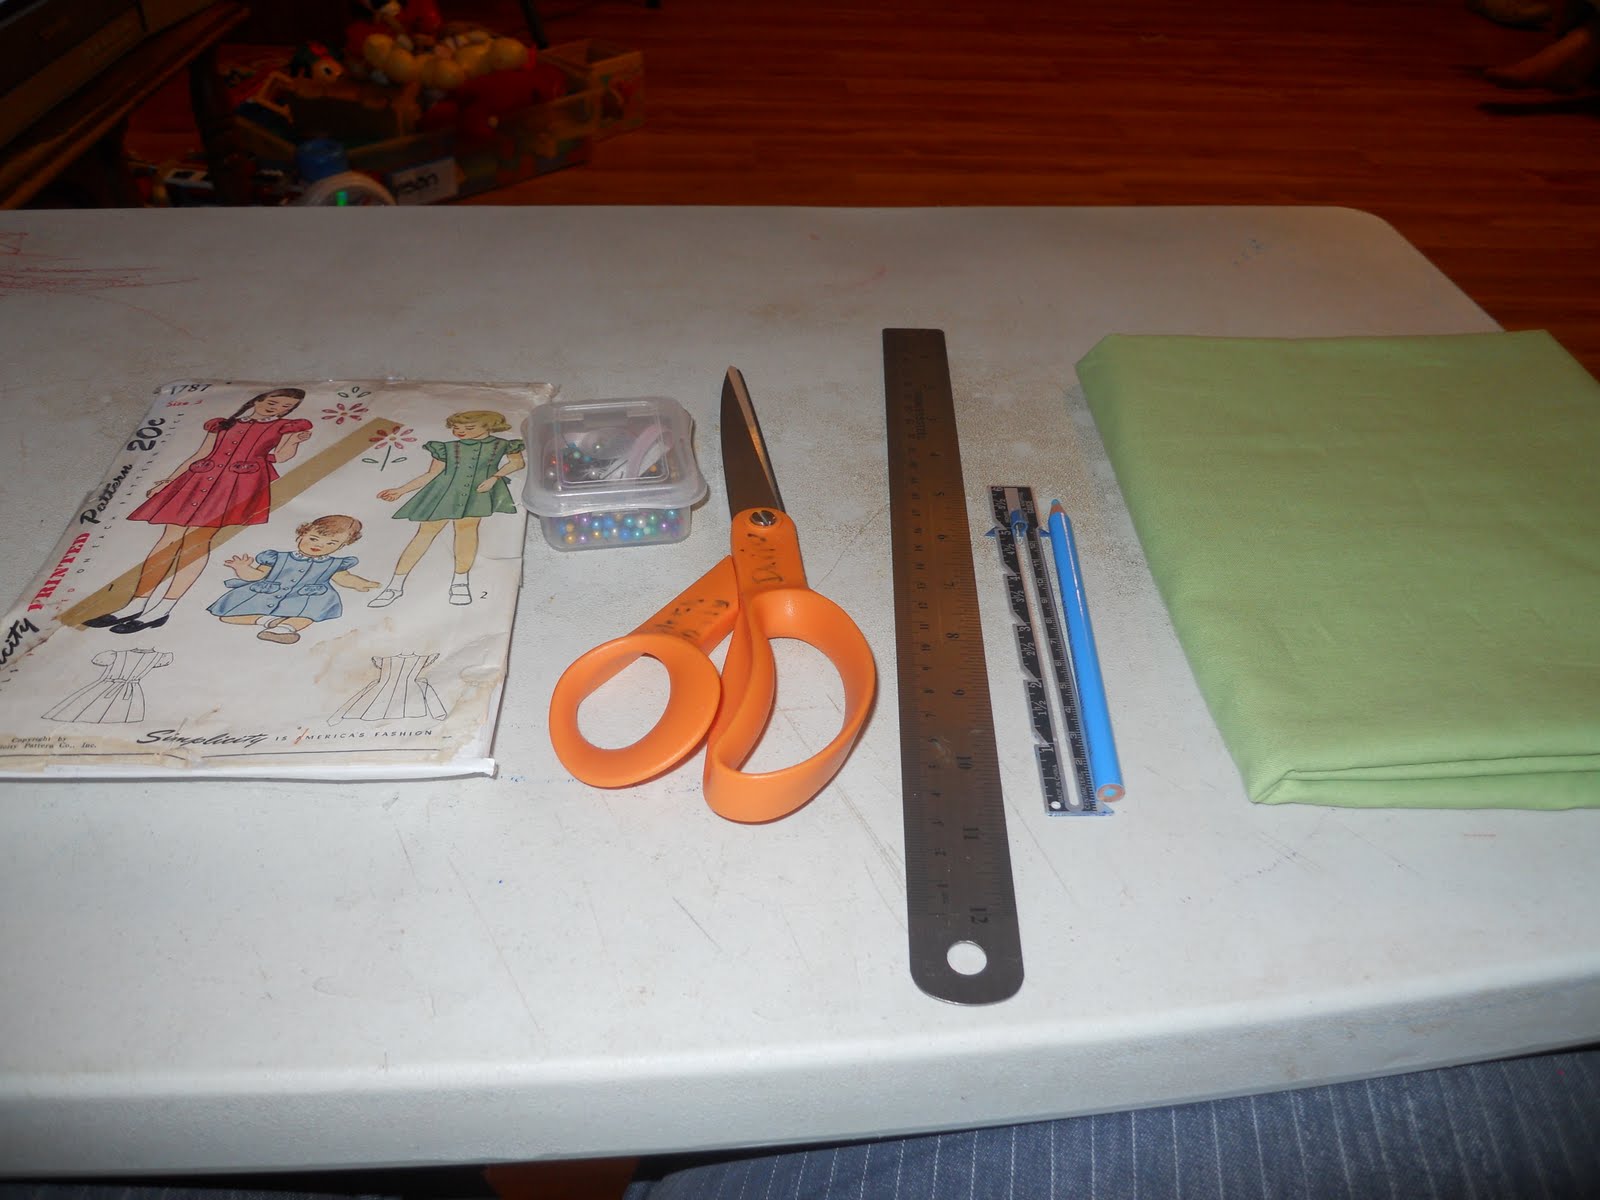 So we've gathered together a water soluble fabric pencil, scissors, a seam gauge, pins, the fabric, and a ruler. Next, we need to unfold the fabric and start pinning the pattern pieces to it. Some people use weights, but if you're sewing with a child or children in the house, pins are more secure! I mean, anything shiny is a magnet for a toddler to appropriate and yell, "MINE!" So we're going to pin it!
  I'm not sure if you can see it, but there's an arrow pointing horizontally on the pattern pieces. Now, this arrow points in the direction of the grain of the fabric. I've never been able to see it, but Mom says it's there. You cut this way because cutting cross-grain gives you more stretch to the fabric, which you usually don't want. Now, the grain of the fabric always runs parallel to the fold and the selvage edges. The selvages are the edges where the fabric was attached to the machine that wove it. If you look closely, you can see the tiny holes were it was attached to the machine. The arrows appear on every pattern piece except for pieces that are cut on the fold, because they're going to run with the grain anyway.
Now most people who sew start with washing and ironing both the fabric and the pattern. If the pattern is exceedingly wrinkled, I'll iron it, and the same for the fabric. But I've never had shrinkage problems after washing, so I usually don't bother to prewash my cotton. Most of what I work with is either cotton/poly blends, quilters' cotton, or cotton broadcloth. Basically, it's inexpensive fabric that with a bit of effort can look very expensive.
So, we've pinned down the first pattern pieces. Because this is a 1946 pattern for a little girl, it's going to be short. The back of the pattern envelope has a "finished garment length". This is important, because it tells us how short it will be. My next step is to go to the Simplicity website and check out the lengths of the same size dress. (The sizing on the big four hasn't changed since about the 1920s.) This dress is a size 3 and its finished length is 17.5 inches. I want plenty of room for Gracie to grow, so I left the 4 inch hem that the pattern calls for. Now, a dress that comes just below the knee for a size three is between 22 and 23 inches, so I'm going to add five inches to the skirt. This is where the seam gauge, ruler, and fabric pencil come into play. I set the seam gauge for 5 inches, and measured from the bottom of the skirt. Normally, I'd use the lines built into the pattern to add inches, but I didn't want to cut into a 1946 pattern, and the baby was trying to steal away my supplies, so I just added to the bottom.
 We'll keep using the seam gauge along the bottom, just to make sure that the measurement stays the same, and repeat for all four pieces of the body of the dress.
Now that we've made the dots, it's time to connect them with the ruler. When I'm adding length, I prefer to draw out the extra cutting lines so I have something to follow:

Next, we cut out, following both the pattern and the lines.
 Next, We need to cut out the four sash pieces and the sleeve ruffles. (I took pictures, but can't seem to locate them!) The sleeve ruffles are too long for the folded fabric, so we need to open the fold. I decided to make both the ruffles and the sash double sided, so we need four of each piece. I prefer to cut in twos. So now those are cut out, and we need to cut out the collar. Most collars are cut on the fold, and this one is no exception. I'm doing it double sided as well, so I cut two.
Next, we need to cut interfacing for the front button plackets and the collar. The pattern doesn't call for it, but interfacing is always a good idea. The last thing we need to cut out for this dress is bias strips for bias tape. More on that in the next post.
No comments:
Post a Comment