If you're like me, you have moments in sewing when you get an epiphany and smack
yourself upside the head because you just discovered something so
obvious that you wonder why it took you so long to see it clearly. This one was a couple years back when working on
Simplicity 2629. See, it's a vintage reprint of a 1948 layette pattern. And it has embroidery. Lots of embroidery. So I got a ink transfer pen and transferred the embroidery pattern. And then it came time for the knife pleats. Until then, no matter how hard I tried with tucks and pleats, out of a set of ten
one would end up crooked. It drove me nuts! So here I am, having just heat transferred the embroidery design, staring at the transfer pen when it hit me. Transfer the dang marks! After all, the pleat lines are clearly marked on the pattern, and it would even give me a line to sew on.
As time has passed, I learned that transfer paper is a better way to go, and that it also works for darting and any other sort of pattern marking that ends up being essential. (Ink bleeds through light colored fabric. And it's permanent. These wash out and come in different colors in the same package for different color fabric)
So today, after finishing Bit's pettiskirt (more on that and the crinoline slip tomorrow) I cut out her slip and put that old "duh" moment to use and transferred the dart markings.
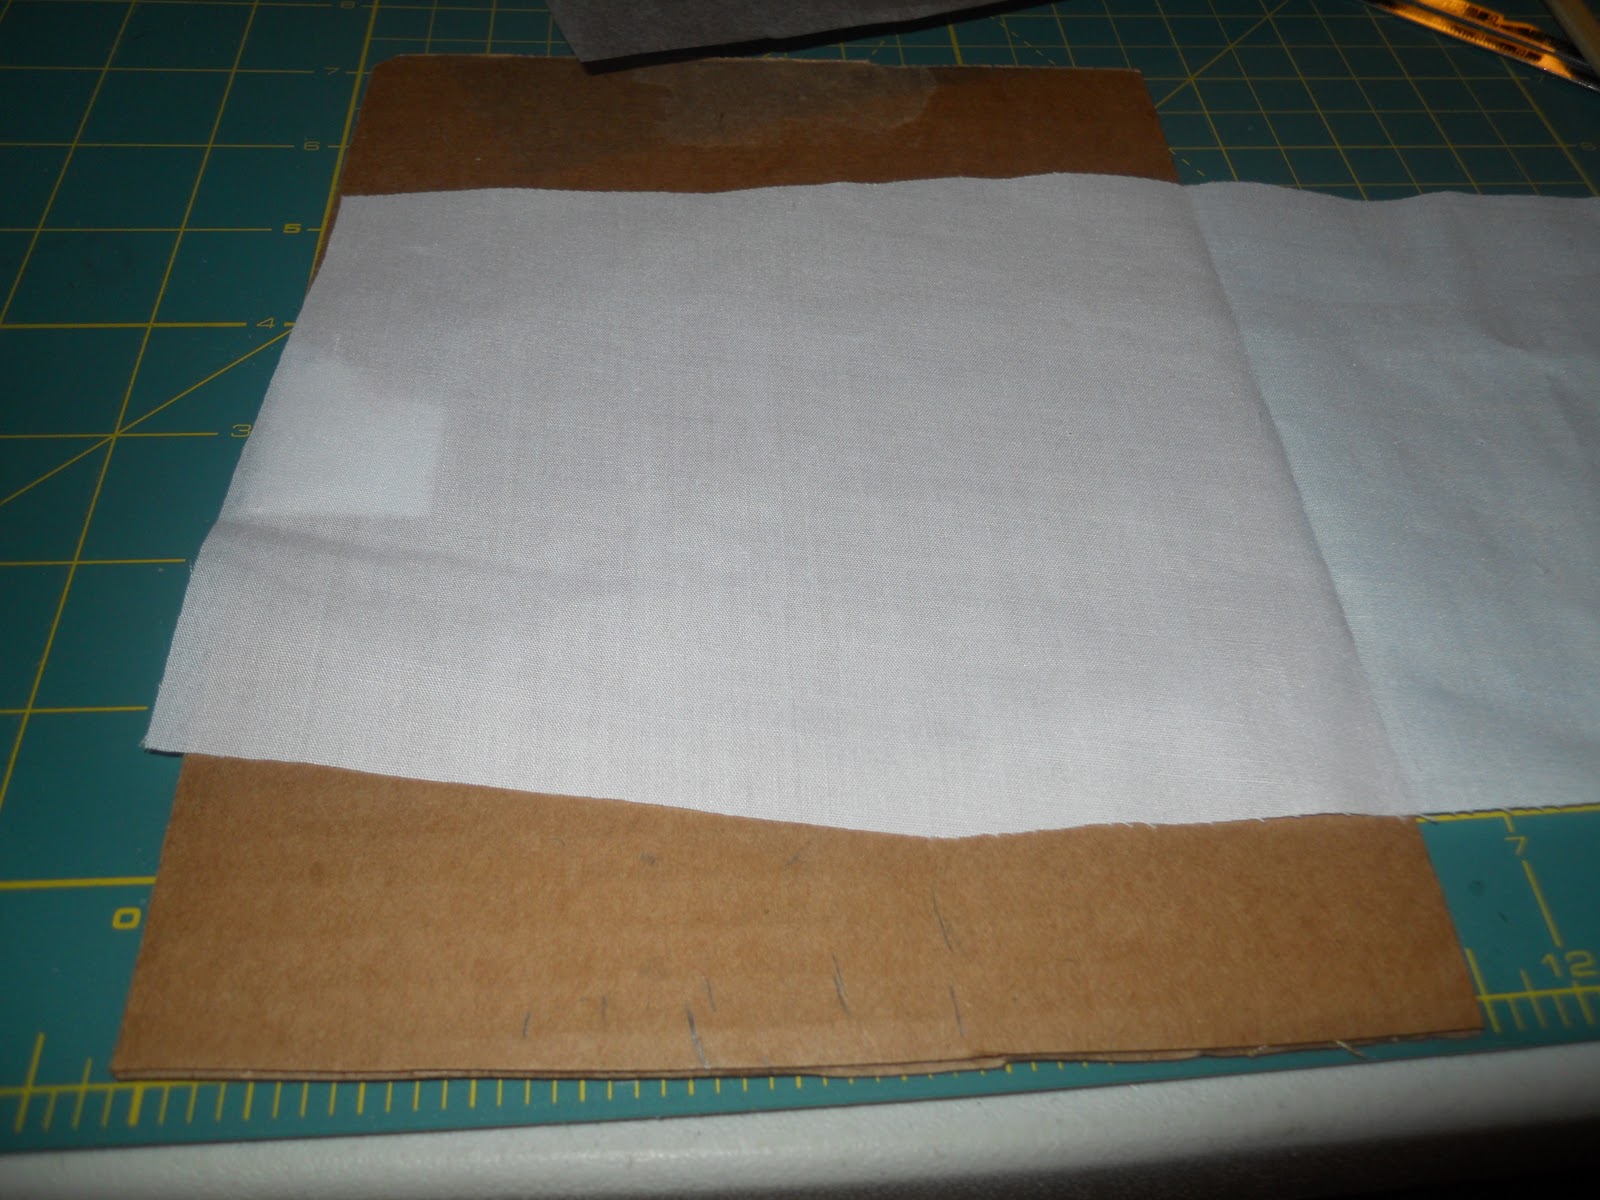
Okay, so here's the cut out pieces of both the slip and panties. I also have a piece of cardboard for extra support (and to know where to line everything up to!) the transfer sheets, a mechanical pencil, a ruler, and a chopstick.
I purposely don't iron the front bodice of things until later, because it gives me a center line to work from, and this is no exception. I lined that line up against the straight cardboard edge, and then lined the paper up against that. The pattern piece goes on top of that, with the cardboard giving you a nice, straight edge to keep everything in the right place and straight.
The next step is to take the chopstick and mark over the dots. When you could take the seam gauge (aka the only ruler I could locate because the others are packed) and go over the lines, you'll get clearer, more accurate lines if you wait.
Graphite washes out, so a common, everyday mechanical pencil is my marking tool of choice. Line up the dots with the ruler and draw in your dart line. Now, repeat with your other side and any other markings you care to transfer.
Now you have perfect markings. Pin along them, follow the lines on them to sew the darts, pleats, or tucks, and you get perfect results every time.
I also transfer placement lines for things like ruffles on ruffle butt panties, and sometimes button hole markings, too!
And one more, a bonus "duh" moment. For perfectly placed collars on back button pieces, also leave in the fold mark--at least temporarily. Sew the shoulder seams together, sew and turn the collar pieces, and then bar tack them together. Then place the bar tacked collar pieces on the center fold line and start pinning. Sew it and you've got a perfectly placed collar!


No comments:
Post a Comment